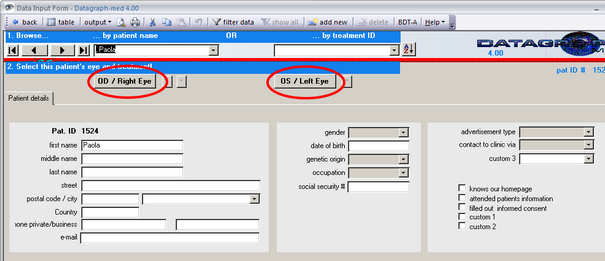
When you open the data entry form (Button #3 from the main menu) you will see an icon bar and a navigation area to find existing data or to create new files.

Most functions are available via the Icon bar on top of this form. If the mouse pointer rests a while over one item 'tool-tip' explanations will appear, describing the function of the button.
'<--back' brings you to the main menu
'table' is a toggle switch changing to 'form' when you are in the table view. It allows switching between both data view options. The last setting will be memorized and taken as a default when you open the Data Entry Screen the next time.
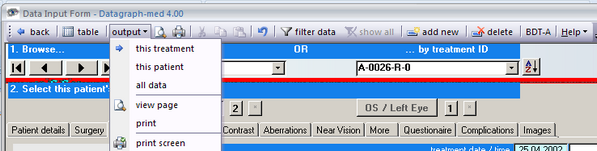
'output' offers different printing options. You may print the actual treatment, all treatments of the current patient or all files. Note that the printout is not exactly identical with he current screen. Use the 'print screen' option to graphically printout the actual treatment including the selected tab on lower part of the form.
'filter data' allows you to control the amount of displayed data
'add new' and 'delete' will file new patients or delete existing data.
'BDTA' is an interface to import data from certain front office software
Having selected the samples database or if you already entered own data you may select individual records on the navigation area by:
- browsing with the arrow buttons
or
- one of the two drop down lists next to it.
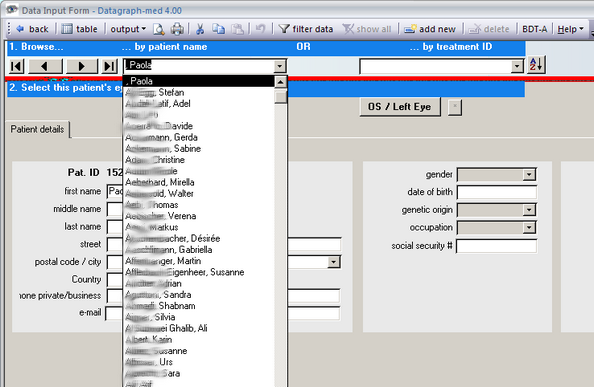
The left drop down list is to select patients by their name. Typing the first few letters of the last name will narrow down the list.
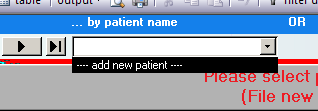
In case there are no entries yet in your database you will see 'add new patient' on the drop down list which starts the filing of a new patient.
Browsing by patient will open the 'patient details'. You may add or edit examination data for the right and left eye individually by clicking on the OD/OS buttons.
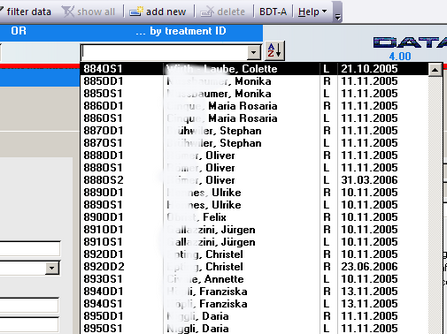
The right drop down list allows to search for individual treatments. Typing in the beginning of the treatment ID number will narrow down the displayed data.
Besides this you can filter your database by clicking on the 'filter data' icon on the menu bar. This will open an orange filter form which allows you to set certain filter criteria.
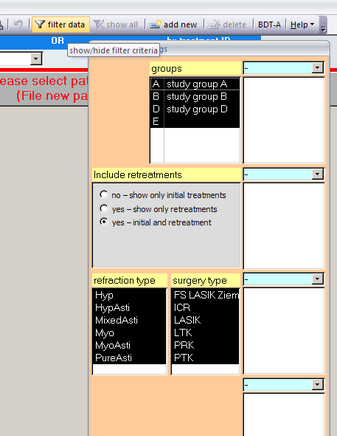
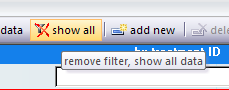
To remove the filter and show again all your data click on the 'show all' icon.